Blog
CAD Renders: 7 Red Flags Before You Approve Your Custom Ring

CAD renders let you preview a custom ring in detail before production. They’re powerful, but they can also hide real-world problems. A beautiful render doesn’t always translate to a wearable, durable ring. Below are seven clear red flags to watch for in CAD drawings and renders, why each matters, and what to ask or change before you sign off.
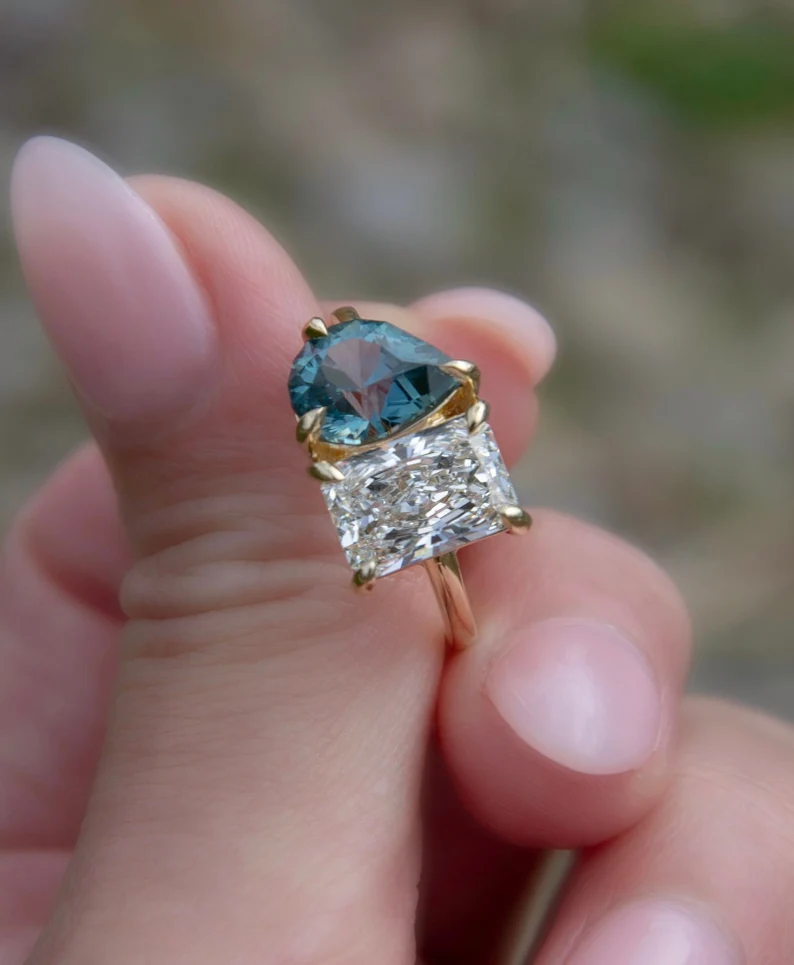
1. Scale and proportion look off — check actual mm, not just visual size
Renders can flatter a stone or shank by changing perspective or camera focal length. Always verify dimensions in millimeters, not just how large it appears on screen. For example, a “1.00 ct round” should be about 6.5 mm. If the render shows it much larger or smaller relative to the band, the designer may have mislabeled the stone or used an inaccurate scale.
What to request:
- Top, side and cross‑section views with measurements in mm.
- Confirm the ring size used for the render (e.g., US 6 vs US 10) since shank profile and visible proportions change with size.
2. Prongs look delicate or sculpted unrealistically — verify thickness and tip geometry
Prongs in renders are often tapered to look elegant. In reality, prongs must have enough thickness where they join the crown and at the tips to survive wear. As a rule: for a 1.00 ct round (6.5 mm), each prong base should be roughly 0.9–1.2 mm in thickness for 14k gold; for platinum 950 you can go slightly thinner around 0.8–1.0 mm because platinum is denser and tougher.
Red flag signs:
- Prong tips that come to an almost razor edge in the render.
- Long, very thin prongs spanning a large stone (risk of bending or breaking).
Ask for: exact prong base and tip measurements, cross-section views, and a stress point check for the chosen alloy (14k vs 18k vs Pt).
3. Stone seat or bezel geometry looks like it floats — ensure proper girdle contact and clearance
A bezel or seat must match the stone’s girdle shape. Renders sometimes show a stone “sitting” without showing the seat depth or inner lip. If the bezel contacts the table or the girdle sits above or below the seat, the stone won’t set correctly.
Concrete checks:
- Ask for the bezel wall thickness (minimum 0.8–1.0 mm for 14k gold) and inner diameter vs stone girdle measurement.
- Confirm a 0.05–0.2 mm clearance tolerance around the girdle for setting—too tight and the stone can crack; too loose and it will move.
4. Shank or band looks elegant but is too thin at stress points
Thin shanks look delicate in renders but fail quickly in daily wear. Worries include bending at the bottom, thin shoulders where diamonds sit, and fragile split shank joins. For most everyday rings, expect the shank thickness at the underside to be at least 1.2–1.6 mm in 14k gold; for platinum, 1.1–1.4 mm can be acceptable because of higher strength.
Ask for:
- Minimum cross‑section dimensions at the thinnest point.
- Ring weight estimate in grams for the given metal and size—if weight is far below typical values, the piece may be underbuilt.
5. Pavé, micro‑set or channel stones appear too close — check spacing, drill depth and bead size
In renders, tiny diamonds can look perfectly placed. Manufacturing needs room for drill depth, bead formation, and polish. Pavé stones usually need at least 0.8–1.0 mm between centers for 1.2 mm stones and adequate metal between stones—less and you risk diamond fracture or lost stones.
Checklist:
- Center‑to‑center distances in mm and bezel/bead sizes.
- Depth of drill holes and metal thickness beneath the stones (minimum metal undercut typically > 0.5 mm for strength).
6. Finishes and reflections mask sharp edges, undercuts or impossible geometry
Renders can use soft reflections, rounded shadows, and high gloss to make geometry appear smooth. But a highly reflective finish in a render can hide undercuts, tiny gaps, or knife‑edge joins that aren’t manufacturable.
What to ask for:
- Wireframe, shaded and orthographic views in addition to the photorealistic render. Wireframe shows the underlying mesh and reveals impossible thin walls or overlapping parts.
- Close‑up cross‑sections at joints, prongs and bezel interiors to confirm there are no unmanufacturable undercuts.
7. Missing manufacturing tolerances, alloy and weight data — demand practical specs
Good CAD approval packages include not just visuals but tolerances, the exact alloy (e.g., 14k yellow gold = 58.3% Au, 18k = 75% Au, Pt 950 = 95% Pt), and expected final weight. Without these, the ring may come back with different color, thickness, or structural strength than intended.
Ask for and verify:
- Alloy specification and surface treatment (e.g., rhodium plating thickness, if any).
- Manufacturing tolerances (typical ±0.1–0.2 mm for cast parts; check particularly for stone seat dimensions).
- Estimated finished weight in grams for your ring size—compare to typical weights for similar designs.
- STL or STEP file export so a bench jeweler can review the mesh and run a production simulation if needed.
Final quick checklist to hand to your jeweler or CAD artist before approval:
- Provide ring size used in the render and confirm shank dimensions at that size.
- Get mm measurements for stone table, girdle, prong bases, bezel wall, and drill depths.
- Request wireframe, cross‑sections and a weight/tolerance sheet.
- Confirm alloy and any plating or finish and its thickness.
- If available, ask for a rapid prototype (wax or 3D printed mockup) to test finger feel and fit.
CAD renders are indispensable, but they’re a preview, not a guarantee. Use the measurements, tolerances and technical views above to move from a pretty picture to a ring that wears well and lasts. Asking the right technical questions now prevents surprises later.