Blog
“Not Our Stone” Fears: How to Document Your Diamond Before Drop-Off
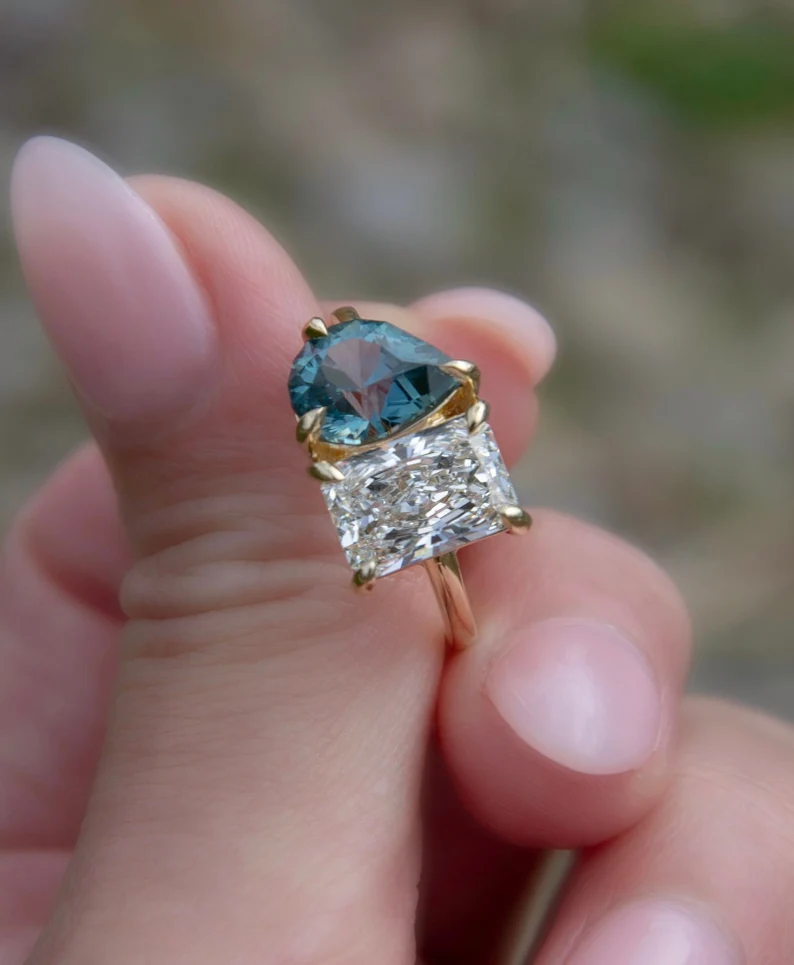
Dropping a diamond at a jeweler for repair, resizing, or cleaning brings up a common fear: “What if they return a different stone?” You can’t eliminate risk, but you can document the diamond thoroughly before drop-off. Good documentation proves ownership, shows condition, and matches the stone’s identity to a certificate or photo record. Below are practical steps you can do in 30–60 minutes that make a real difference.
Why thorough documentation matters
Proof of ownership: Receipts, photos, and lab reports link you to the exact stone. Condition baseline: Close-up photos show chips, nicks, or worn prongs before service. Identity matching: Measurements and certificate numbers help confirm the same stone returns. These records reduce disputes and speed insurance claims.
What to record — the essentials
- Basic info: Owner name, jeweler name, date, drop-off time, staff name, job/order number.
- Weight and measurements: Carat weight (e.g., 1.02 ct), and millimeter measurements (e.g., round: 6.50 mm; oval: 8.00 x 5.00 mm). Use a jeweler’s scale and calipers if available, or rely on the certificate.
- Cut proportions: Table %, depth %, girdle description (thin, medium, faceted), culet size. Example: table 57%, depth 61.5%.
- Color and clarity: Certificate grade (e.g., G, VS2) and any notable fluorescence (e.g., medium blue under UV).
- Certificate details: Lab name (GIA, AGS, IGI), report number, and a photo of the certificate front and back.
- Mounting and metal: Ring size, prong count and type, metal alloy and stamp (e.g., 14k white gold, 585; 950 platinum). Photograph the inside of the band showing hallmarks.
- Visible damage: Note scratches, chips, loose stones, and missing metal. Photograph each area.
How to photograph your diamond properly
Good photos are the most persuasive evidence. Use both close-up (inclusions, girdle inscription) and context shots (entire ring and band hallmarks).
- Tools: A smartphone with macro mode, a small table lamp, a plain black or white background, a millimeter ruler or calipers for scale, and a loupe or macro lens attachment if available.
- Close-up technique: Place the ring on a flat, nonreflective surface. Use a millimeter ruler next to the stone so the photo shows scale (e.g., “6.5 mm” visible). Use macro mode or a 10x macro lens to capture inclusions and girdle detail.
- Certificate inscription: If the girdle is laser-inscribed (many GIA reports include this), photograph the inscription with magnification. Hold the loupe over the inscription and keep the camera steady; take several shots.
- Lighting: Use diffuse natural light or a white LED lamp. Avoid direct harsh reflection. Take photos from multiple directions: top (table), side (profile), pavilion (culet), and undertable to show inclusions.
- Backgrounds: Use white for light-colored stones and black for high sparkle to show contrast. Always include at least one full-ring photo showing hallmarks inside the band.
- Metadata: Keep the original image files to retain EXIF data (timestamp, device). Don’t crop out the ruler or signature that proves scale.
Video: simple but powerful
Record a short video (30–60 seconds) documenting condition and the handover. Start with a close-up of the stone and certificate, pan to show the hallmarks, then record the store sign and staff member accepting the piece. State the date and your name on camera. Send the video to yourself immediately by email or cloud upload so there is a timestamped third-party copy.
Paperwork and receipts to insist on
- Signed drop-off form: Ask for a written work order that lists all items and their condition. Make sure staff initials each listed item.
- Job number and expected completion date: Note these and take a photo of the work order.
- Liability limits: Get written confirmation of store liability and security measures. If the jeweler requires you to waive liability, do not leave the piece without understanding terms.
- Security camera confirmation: Ask if the store records drop-offs. If yes, note the camera presence and time in your records.
Insurance, appraisals, and independent checks
If the stone is high value (for example, greater than $5,000 or larger than 1.00 ct), consider an independent appraisal or third-party inspection before leaving it. Appraisals list exact carat, measurements, and a plotted inclusion diagram. An independent appraiser increases proof of identity if there’s a later dispute.
Keep insurance current. Provide your insurer with photos, certificate copies, and the appraiser’s report. If the jeweler offers on-premises insurance while they hold the item, get written confirmation of coverage limits and the claims process.
Sample checklist to use at drop-off
- Date/time of drop-off
- Jeweler name, address, and staff member who accepted it
- Photo of full ring with ruler
- Close-up photos: table, pavilion, girdle inscription
- Certificate photo and report number
- Work order signed and photographed
- Video of handover emailed to self
- Copy of appraisal (if available)
When to escalate
If the jeweler refuses a signed work order, won’t show CCTV presence, or asks you to drop the item without staff present, walk away. These are red flags. For stones over 1 ct or high-value custom pieces, request leaving the item only when a manager or senior staff member accepts it and provides a written receipt.
Documentation won’t remove all risk, but it shifts the balance in your favor. Clear photos, accurate measurements, certificates, a signed job order, and a timestamped video create a strong ownership trail. That trail makes it far more likely you’ll get your exact stone back — or a fast resolution if something goes wrong.