Blog
Thanksgiving to New Year: How Holiday Lighting Changes Diamond Photos
Holiday lighting — from warm candlelight at Thanksgiving to cold LED strings on New Year’s Eve — changes how diamonds look in photos. Different light sources alter a diamond’s color, sparkle, and perceived clarity. If you sell, photograph, or simply want honest images of a ring, you need to understand what each light does and why. This guide explains the physics and offers practical recipes for consistent results.
How light type changes what you see
Light affects a diamond in three main ways: color (body tint), brilliance (white return), and fire (colored flashes from dispersion). The light source’s color temperature (measured in kelvins) and spectral quality (CRI — color rendering index) determine those effects.
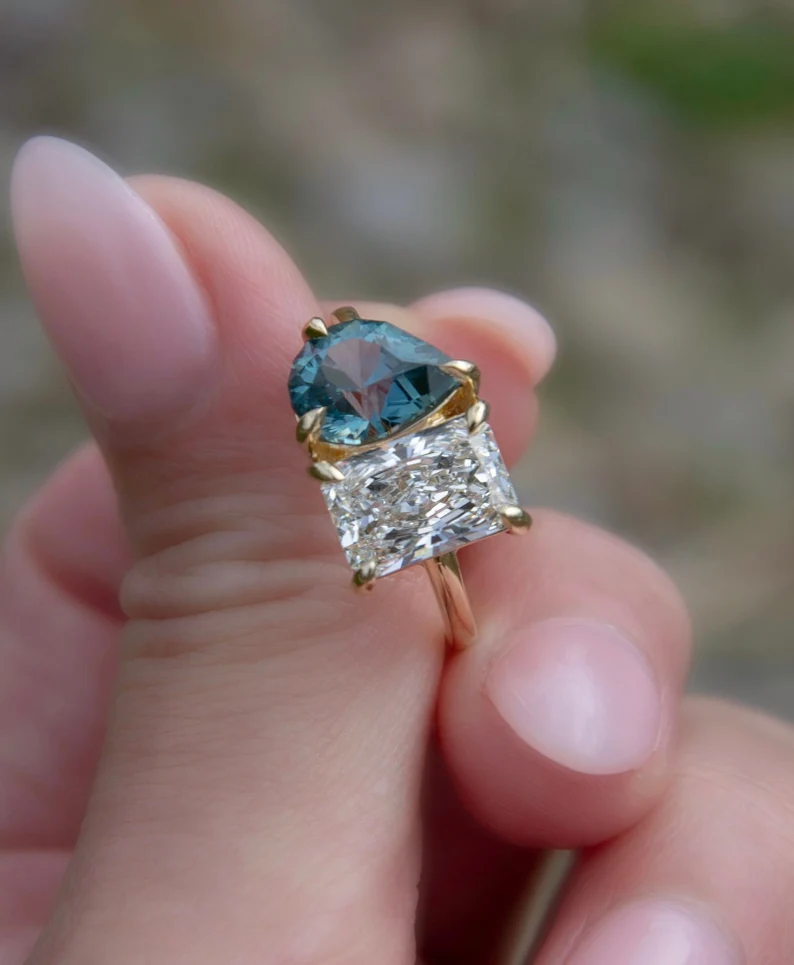
- Warm tungsten or candlelight (1,800–3,000 K): pushes diamonds toward warm/yellow tones. Why: low kelvin means more red/yellow wavelengths. Good for a cozy look, bad for honest color grading. Example: a 1.0 ct round brilliant (6.5 mm) graded J–K will look closer to its in-person warmth under 2,700 K bulbs.
- Cool daylight or daylight-balanced LED (5,000–6,500 K): shows truer body color and neutral whites. Why: balanced spectrum includes blue and green, so the diamond’s inherent tint appears more accurately. This is the recommended light for grading photos intended to convey color (e.g., D–F vs G–J distinctions).
- Low-CRI LEDs and colored holiday lights: can create odd color casts and exaggerated colored flashes. Why: narrow-spectrum LEDs may spike in specific wavelengths, producing strong red, green, or blue reflections inside facets that don’t represent the stone’s real color.
Point sources vs. diffuse light — what they change
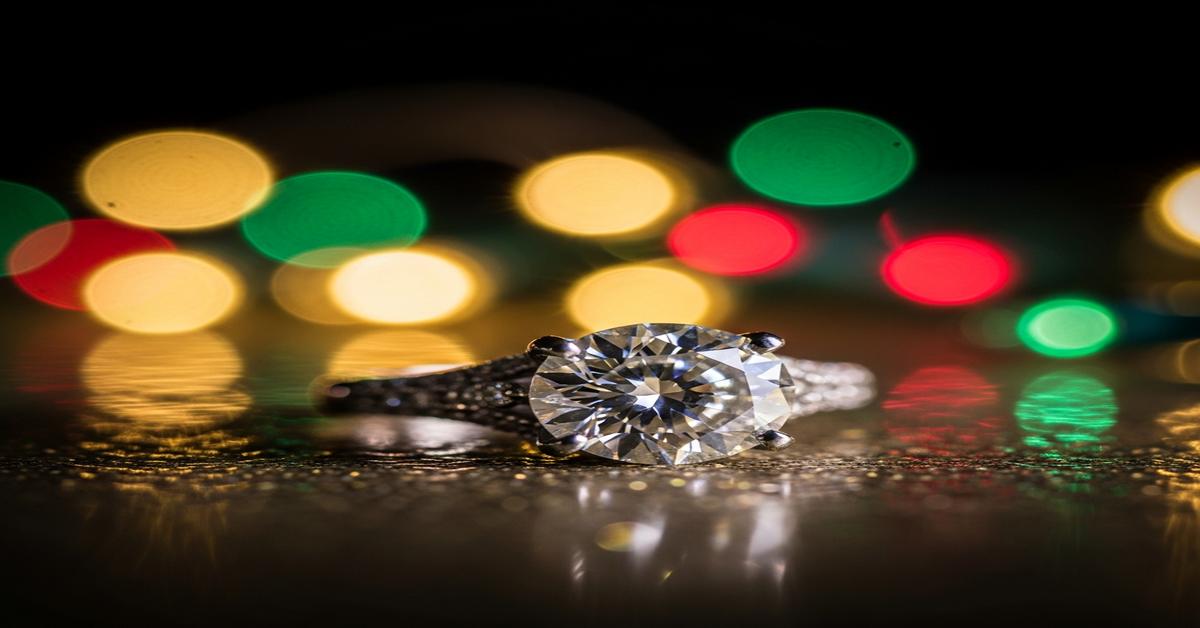
Small point lights — fairy lights, fairy bulbs, single LEDs — produce many specular highlights. That makes a diamond look very sparkly on camera because those highlights become bright dots or bokeh. Diffuse light — softboxes, diffused window light — reduces spark and emphasizes overall brilliance and clarity.
- Use point sources to show scintillation and fire. Example: several 3–5 mm warm LED fairy lights behind a ring create colorful bokeh and visible fire in a 2.0 ct emerald cut (8.2 x 6.0 mm).
- Use diffuse light to show true body color and inclusions. Why: soft light spreads evenly and prevents harsh specular hotspots that hide internal details.
Holiday lighting pitfalls — and how to avoid them
Holiday scenes invite colored reflections and mixed color temperatures. Mixed light (tungsten plus LED plus colored lights) confuses auto white balance and the camera’s metering. The result is inconsistent color and blown highlights.
- Color casts: Colored string lights reflect in facets and may tint the diamond. Fix: isolate the jewel on a neutral background or switch off colored lights for product shots.
- Mixed white balance: Avoid shooting with multiple light types simultaneously. Fix: use one dominant source (preferably daylight-balanced LED, 5,500 K) and set custom white balance or shoot RAW.
- Clipped highlights: Small point lights create specular highlights that easily clip to pure white. Fix: check the histogram, underexpose slightly (-0.3 to -1 EV) and preserve highlight detail in RAW.
Camera and phone settings that matter
Technical settings control depth of field, sharpness, and how highlights render.
- Aperture: For macro work, shoot around f/8–f/16. Why: this gives enough depth of field to keep a 6–8 mm stone in focus without losing sharpness to diffraction.
- Shutter speed and ISO: Use a tripod. Keep ISO low (100–400) to avoid noise that masks clarity. Use shutter speed as needed; faster speeds freeze sparkle if handholding.
- White balance & RAW: Shoot RAW and set custom white balance using a gray card under the same light. Why: RAW preserves color data for accurate post-processing and avoids camera auto WB shifts in holiday scenes.
- Polarizing filter: Use carefully. A polarizer reduces unwanted reflections on metal and glass, but it also can dampen some diamond sparkle. Use it when reflections hide the gem’s pavilion or when photographing settings in bright window light.
Showing what you want: four practical lighting recipes
Here are simple, repeatable setups tailored to common goals.
- Accurate color for listings: One daylight-balanced LED panel (5,500 K, CRI > 90) diffused overhead, white reflector beneath. Camera on tripod, custom white balance with gray card, RAW. Shutter set to expose midtones; check histogram. Result: neutral body color, useful for comparing D–J grades.
- Maximum sparkle for social media: Two point sources (small LEDs or halogen spots) angled to hit the crown and pavilion, plus a dark background to boost contrast. Use a wider aperture (f/5.6–f/8) and slight underexposure to keep highlights snappy. Result: bright scintillation and dramatic bokeh.
- Show clarity and inclusions: Single bright diffused panel at a shallow angle (about 30–45° to the table). Capture with f/11 to f/16 to maximize depth of field. Use a white or light gray background to reveal internal features. Result: inclusions and facet junctions are visible without harsh blowouts.
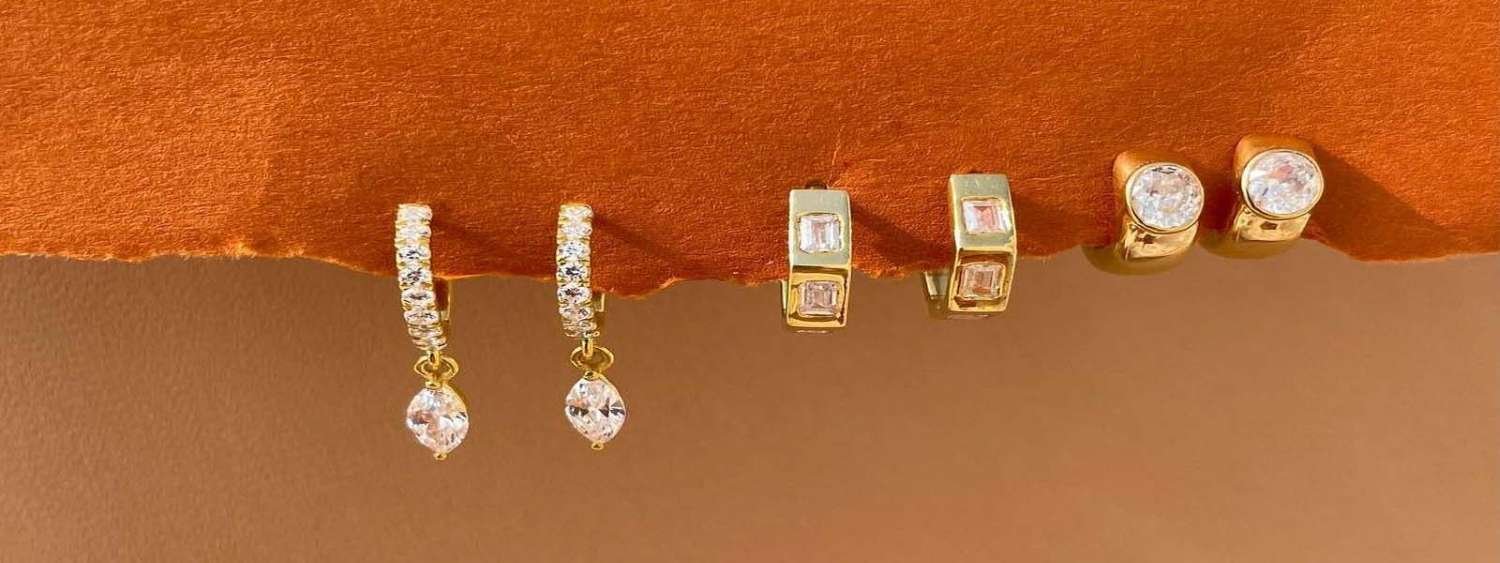
- True metal color (yellow gold vs rhodium white gold vs platinum 950): Use neutral 5,500 K light and include a color reference (silver or small strip of 18k yellow gold). Why: gold alloys (14k is roughly 58.3% gold; 18k is 75% gold) differ in hue; accurate light prevents misrepresentation.
Practical smartphone tips for holiday shoots
Phones are convenient but default settings can mislead.
- Shoot RAW (DNG) with a pro camera app. RAW lets you correct white balance later.
- Lock exposure and focus on the diamond. Tap to lock, then slide to adjust exposure to avoid blown highlights.
- Use a small tripod or stable surface. Micro-movement removes sharpness and detail.
- If the scene has colored holiday lights you want to keep, photograph two images: one with the lights on for atmosphere and one with a neutral setup for accurate listing images.
Short checklist before you hit the shutter
These quick checks prevent the most common holiday-photo problems.
- Is the dominant light source daylight-balanced (5,000–6,500 K)?
- Is the CRI > 90 for accurate color?
- Did you set custom white balance or shoot RAW?
- Are you using a tripod and appropriate aperture (f/8–f/16 for macro)?
- Have you checked the histogram for clipped highlights?
Holiday lighting can add warmth and mood. But for truthful jewelry images — especially when grading color, showing clarity, or selling online — choose controlled, neutral light and a repeatable setup. When you know how each light source changes a diamond, you can use holiday lights creatively without sacrificing accuracy.