Blog
Tooth Test for Pearls: The Only Safe Way (If You Must)
People still talk about the “tooth test” for pearls, and yes—rubbing a pearl lightly against your teeth can give you a clue. But most demonstrations you see are careless and can scuff nacre, contaminate a strand, or mislead you. If you must do it, do it once, gently, and correctly. Here’s how the test works, why it often fails, and the only safe way to try it—plus better checks that don’t risk your jewelry.
What the tooth test actually detects
Real pearls are built from microscopic aragonite platelets bound with conchiolin. Think of a natural brick wall laid in ultra-thin layers. That layered surface is never perfectly smooth. Under your tooth’s enamel, a real pearl will feel slightly gritty, like fine sandpaper or chalk dust.
Imitations—glass, plastic, ceramic, or coated beads—tend to feel glassy-smooth. Their surfaces are poured, polished, or lacquered, not grown in layers. So, in theory: gritty = real nacre, slippery = imitation.
Important limits:
- The tooth test cannot tell natural pearls from cultured pearls. Both have nacre.
- Some high-grade coated imitations add microtexture to mimic grit. Some heavily worn pearls can feel smoother than new ones.
Why the usual way can be risky
Surface damage. Tooth enamel is about Mohs hardness ~5. Nacre is ~3.5–4. Press or repeat the motion and you can burnish or scratch the pearl. Thin-nacre akoya (typical nacre 0.2–0.5 mm) is especially vulnerable at drill holes and high points.
Hygiene and string damage. Saliva, toothpaste residue, and acids can dull luster. Moisture wicks into silk, weakens it, and leaves spots. Never drag a strung necklace across your teeth.
Dental variables. Porcelain veneers, resin fillings, or heavy tartar change the feel. The “grit” sensation is most noticeable against clean, natural enamel. Restorations can make a real pearl feel smoother or an imitation feel textured.
The only safe way to do a tooth test (if you must)
- Choose the right piece. Test a single loose pearl or a stud earring. Avoid a full strand to protect the silk and neighboring pearls. Skip antiques with visible crazing or chalkiness.
- Quick clean—no chemicals. Wipe the pearl with a barely damp, soft cloth and a tiny drop of mild, pH-neutral soap. Immediately wipe again with a clean damp cloth and dry. Do not soak. Do not use alcohol, acetone, or ultrasonic cleaners.
- Prepare your tooth. Rinse your mouth with plain water and brush off any toothpaste residue. Use a natural front tooth edge (no veneer or bonding).
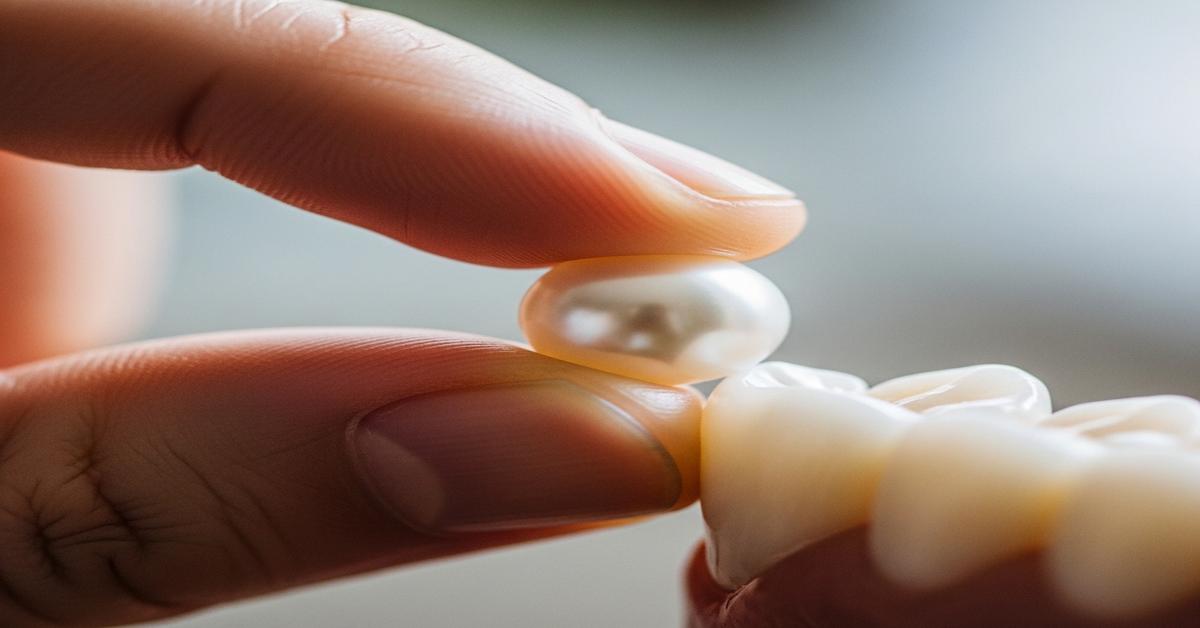
- The touch. Hold the pearl between thumb and forefinger. With feather-light pressure, draw it once across the cutting edge of your front tooth. One pass is enough. You’re feeling for a very fine, chalky drag—not scratching.
- Stop immediately. If you need a second pass, do only one more. More friction risks burnishing the surface.
- Aftercare. Wipe the pearl dry with a soft cloth. If a stud, wipe the metal post too. Store separately in a soft pouch.
What not to do: Don’t bite the pearl, don’t rub along the flat face of your teeth, and don’t test multiple pearls down a strand. Never test pearls with visible coating, flaking, or hairline cracks.
What your results mean—and what they don’t
- Feels gritty: Likely real nacre (natural or cultured). The feel should be subtle, like superfine grit sandpaper. You may also hear a faint whispery sound.
- Feels glassy-smooth: Likely imitation—glass, plastic, or heavy lacquer. Typical for “shell pearls” (reconstituted shell on a core) and glass with multiple coats.
Common exceptions:
- Worn pearls. Old akoyas with thin nacre (e.g., 6.5–7.5 mm pearls from mid-century strands) can polish smooth at high spots and feel less gritty.
- Textured coatings. Some premium imitations add microtexture that fakes grit. Under 10× magnification, you’ll see a uniform, sprayed look rather than organic growth lines.
- Mabe/blister pearls. Often resin-backed with a dome of nacre; edges near the bezel can feel different from the dome.
Remember: A gritty feel doesn’t reveal origin. A 9–10 mm freshwater pearl with solid nacre and a 7–8 mm akoya with 0.3 mm nacre can both feel gritty yet be very different in value.
Safer at-home checks before you ever try teeth
- Magnify the drill hole (10×). Real nacre shows concentric growth lines and an abrupt change at the bead/nacre boundary in bead-nucleated pearls. Imitations show a uniform coating, often with glass underneath and paint pooling at the hole.
- Surface texture under light. Roll the pearl under a bright point light. Real nacre often shows subtle growth ridges and sharp specular highlights; coatings look orange-peely or too uniform.
- Weight and temperature. Glass imitations feel heavier and stay cool longer in hand. Plastic feels warm and too light for its size. A 7.5 mm real pearl typically feels denser than plastic but lighter than glass.
- Uniformity clues. Perfectly identical size, shape, and color across a long strand can hint imitation. Real strands—even fine akoya 6–7 mm—show tiny variances.
- Luster and overtone. Real pearls show depth: a bright, tight reflection and layered overtones (rose, silver, cream in akoya; peacock in Tahitian; golden in South Sea). Coatings often look mirror-shiny but shallow, with reflections that “bleed.”
- Edge wear. Check the equator and near drill holes. Flaking or peeling suggests a coated bead, not nacre.
What the tooth test cannot tell you
- Natural vs cultured. Both grow nacre and will feel gritty. Distinguishing requires imaging (X-ray) to see a bead nucleus in bead-nucleated types (e.g., akoya, South Sea, Tahitian) or the solid nacre structure typical of many freshwater pearls.
- Nacre thickness. The test can’t tell if an akoya has 0.2 mm vs 0.5 mm of nacre, which matters for durability and value.
- Treatments. Bleaching and pinking in akoya, or dye in freshwater/Tahitian, won’t show through the tooth test.
When to skip home tests and go pro
For heirlooms, signed pieces, or anything with large pearls (10–14 mm South Sea or Tahitian, or 8–9 mm fine akoya), avoid DIY friction tests. A trained jeweler or gemologist can:
- Use X-ray imaging to reveal a bead nucleus vs solid nacre.
- Assess nacre thickness and condition, especially around drill holes.
- Identify treatments and match replacements if restranding.
This is especially wise if the metal is high value (e.g., 18k settings or platinum) or the pearls show age-related fragility.
Care after any testing
- Wipe pearls with a clean, slightly damp soft cloth, then dry. Avoid chemicals.
- Keep strands dry; if silk feels damp, lay flat to air-dry before storing. Consider restranding every 1–2 years with knots between pearls.
- Store pearls separately from harder gems (quartz is Mohs 7) and metal edges to prevent scratching.
- Last on, first off: apply perfume and hairspray before wearing pearls, and remove pearls before workouts.
Bottom line
The tooth test can hint at real nacre, but it’s crude, subjective, and easy to do wrong. If you absolutely must try it, keep it to one gentle, clean pass on a single pearl—not a strand. Better yet, start with magnification and visual checks and reserve definitive ID for a professional. Your pearls—and their luster—will last longer.