Blog
Golden Hour or Cloud Cover? When US Outdoor Pics Look Best
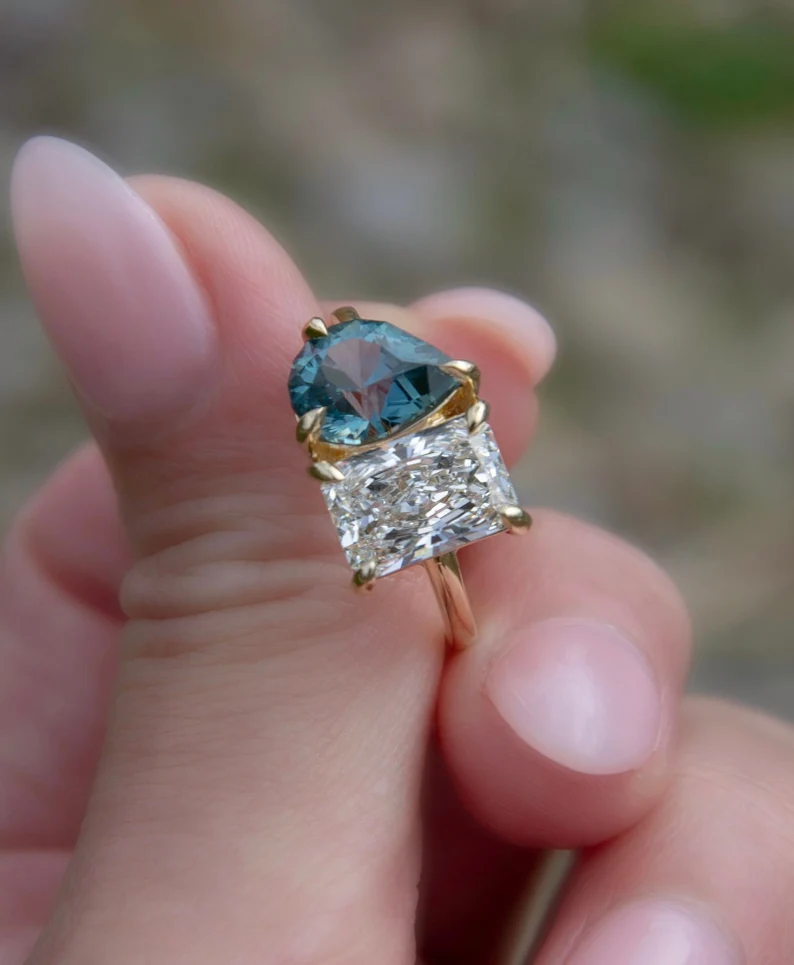
Choosing between golden hour and cloud cover matters because the light does most of the work. For jewelry photography, the quality of light affects color accuracy, reflections, and how three-dimensional a piece looks. Golden hour gives warm, directional light that sculpts surfaces. Cloud cover gives even, soft light that reduces hotspots and makes small reflective items easier to control. Both work — but for different reasons and different locations in the U.S. Here’s how to pick and how to shoot for the best outdoor results.
How golden hour and cloud cover change light
Golden hour is the brief time after sunrise and before sunset when the sun sits low. Light is warmer (about 2,000–4,000 K) and more directional. That warm tint strengthens yellow/gold metals and makes gemstones appear richer. Directional light creates strong but soft shadows that define facets and texture, which helps show scale and depth.
Cloud cover acts as a giant softbox. Overcast skies produce cooler light (roughly 6,000–7,500 K) that is diffuse and low-contrast. Diffuse light prevents specular blowouts on polished metal and reduces the number of uncontrolled highlights on gemstones. It also keeps colors neutral and consistent across the frame, which helps with color-critical editing and matching stones to swatches.
When to choose each — by effect and by region
- Want drama and warmth? Choose golden hour. Use it when you want warm tones, strong separation from background, and sculpted shadows. Ideal for lifestyle shots—models wearing a necklace against sunset, rings on a warm wooden table, or gold pieces on skin.
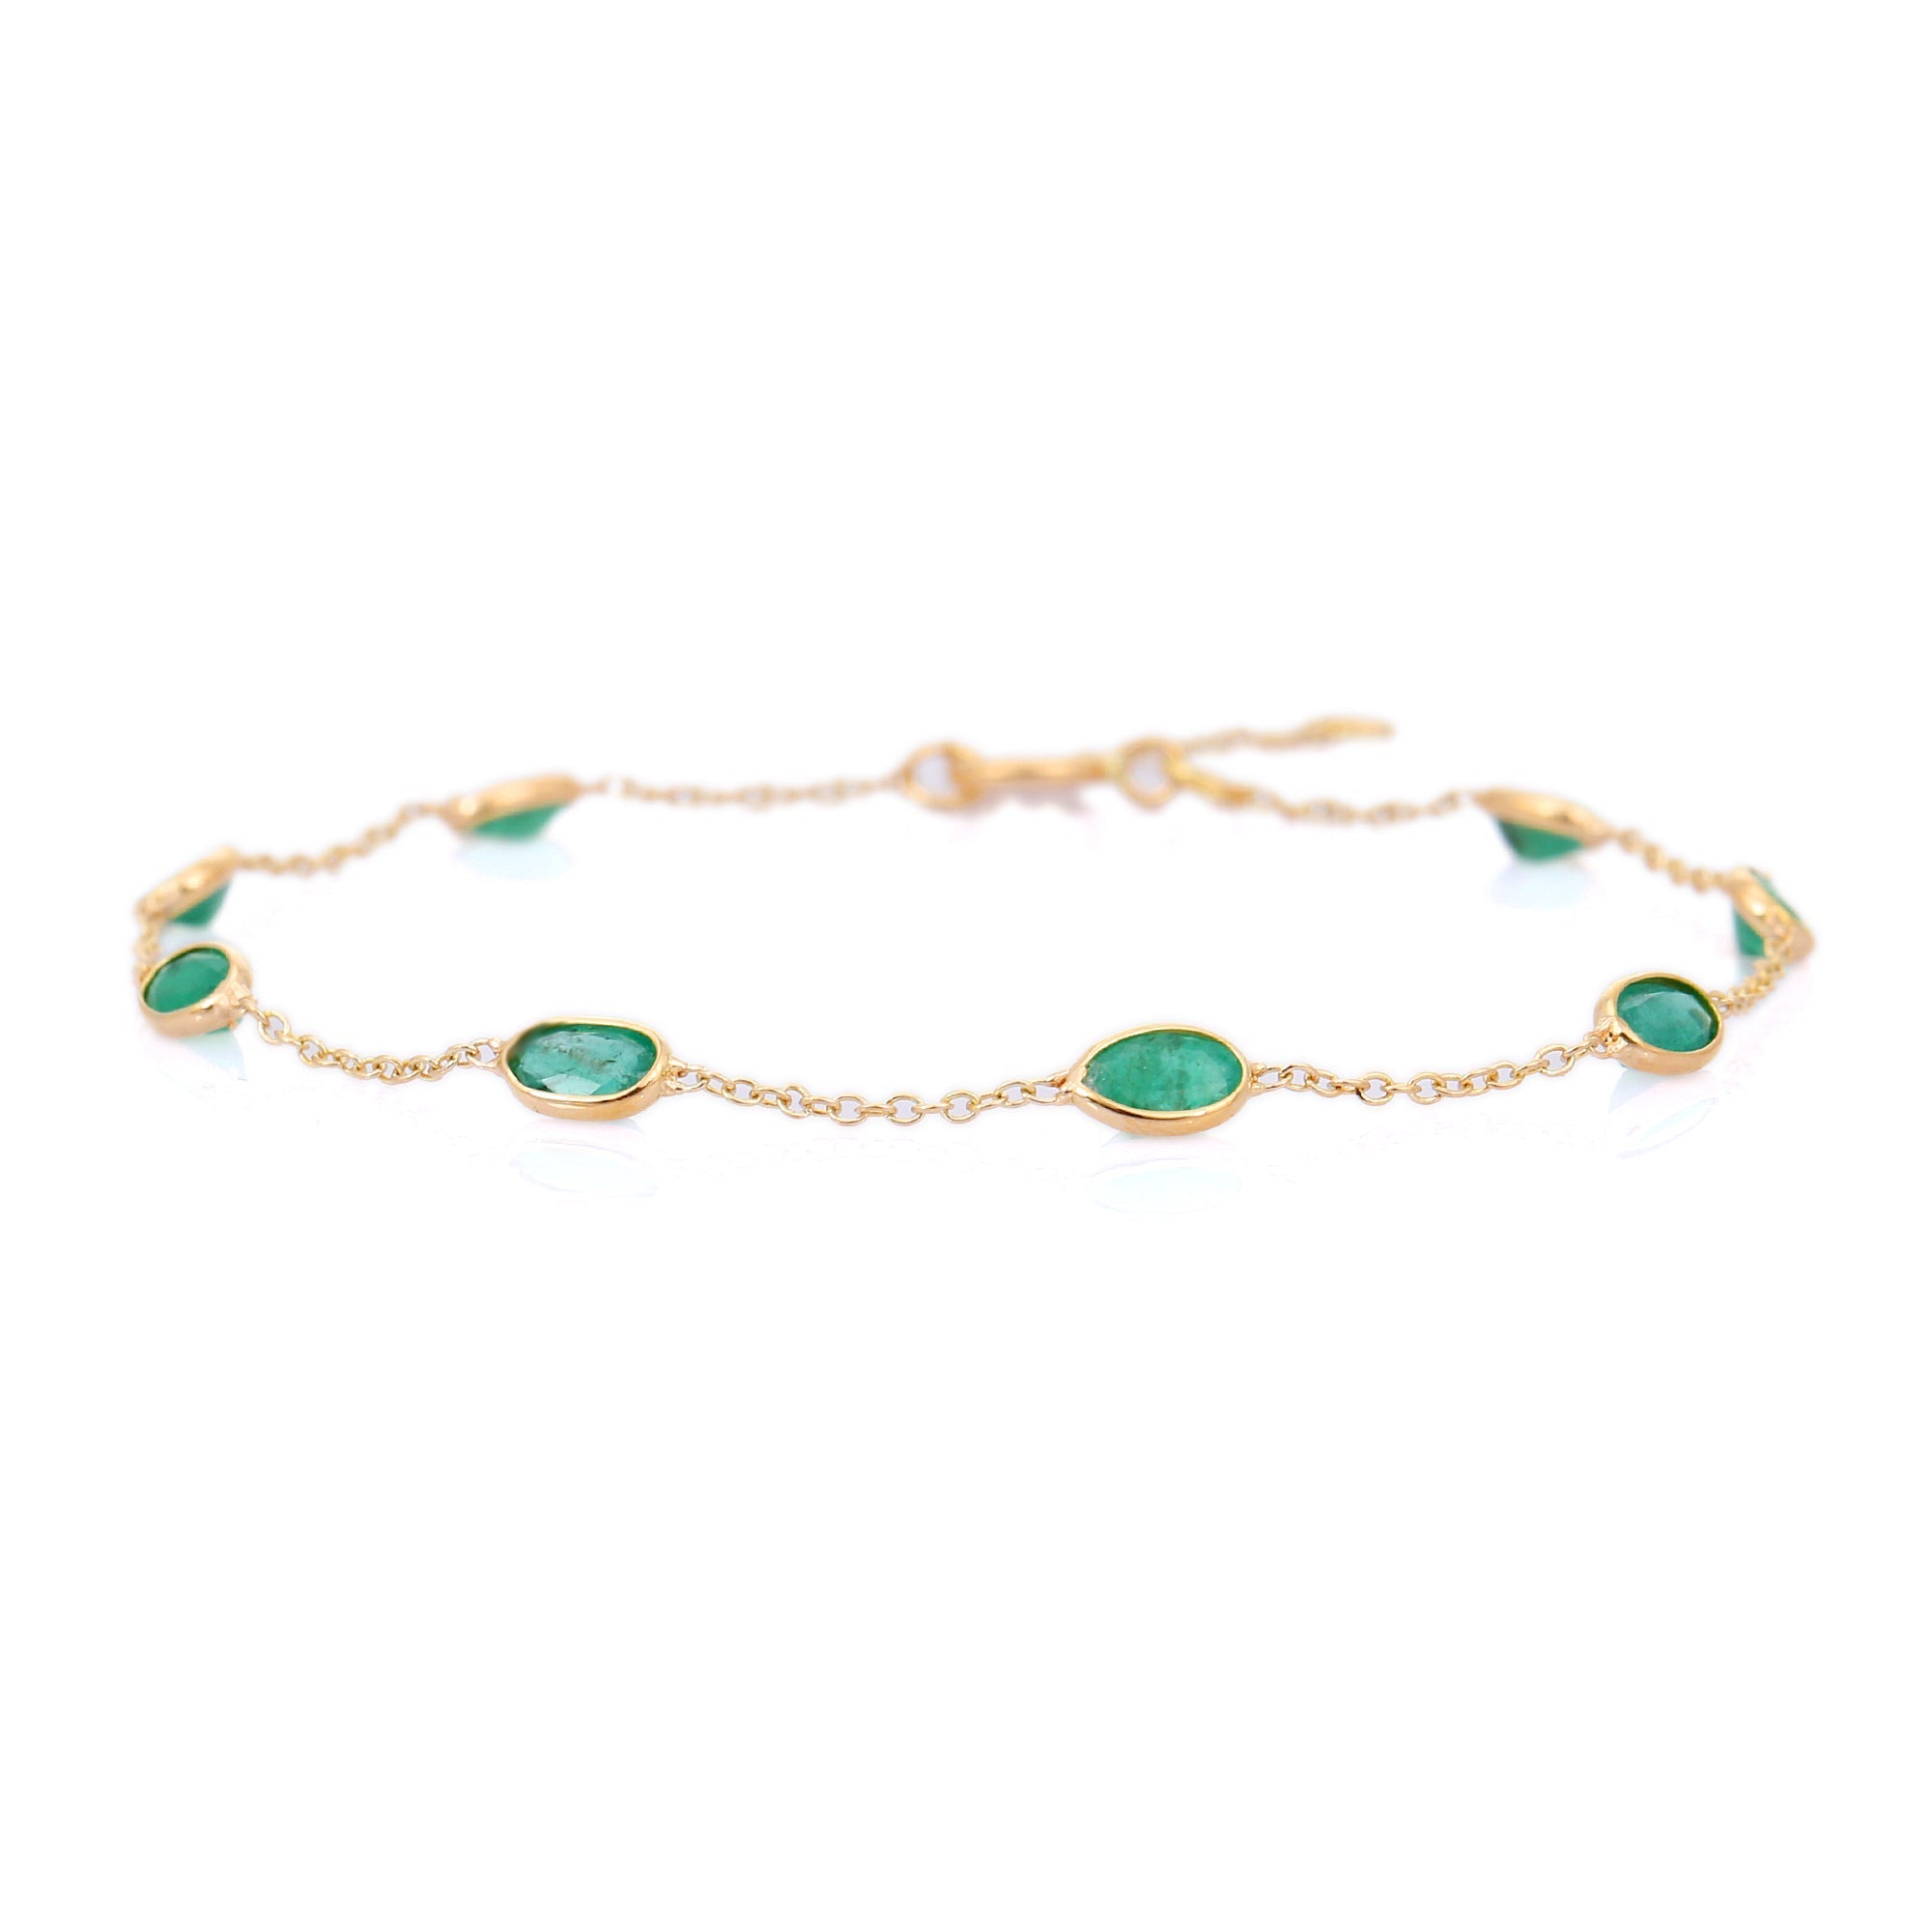
- Need even, controlled light? Choose cloud cover. Use it for catalog shots, tight macro work, and any time you want consistent color and fewer reflections. Overcast is forgiving for quick outdoor shoots and works well for silver, platinum, and color-sensitive gems.
Region matters because the length and quality of golden hour and the frequency of clouds differ across the U.S.
- Southwest (Phoenix, Tucson): Harsh midday sun, very clear skies. Golden hour is short but very warm and dramatic. Avoid midday. Use cloud cover only rarely; instead use diffusers to soften sun.
- West Coast (Los Angeles, San Diego): Plenty of clear sunsets. Golden hour is dependable. Coastal fog (marine layer) can act like cloud cover in the morning—great for soft portraits with jewelry.
- Pacific Northwest (Seattle, Portland): Frequent overcast. Cloud cover shots are easy and consistent. Golden hour appears less often but is striking when the sun breaks through—use for moody editorial work.
- East Coast (New York, Boston): Four distinct seasons. In summer, golden hour comes late (longer warm light in evenings). In winter, golden hour is brief but very warm in color. Clouds are variable—plan both options.
- Florida and Gulf Coast: Very bright and reflective. Midday glare is extreme. Golden hour is best for warm tones; cloud cover works well but often with high humidity (affects clarity).
- High altitude (Denver, Colorado Springs): Intense sun; stronger UV means harsher specular highlights. Golden hour helps a lot. Cloud cover shoots can be bright but cool—use diffusers and polarization.
Practical camera settings and gear for outdoor jewelry
- Shoot RAW. RAW lets you correct white balance accurately — critical because golden hour (~2,000–4,000 K) and overcast (~6,000–7,500 K) differ strongly.
- Aperture: For close-up jewelry, use f/8–f/16 on a macro lens (60–105 mm) to get enough depth of field while preserving sharpness. For lifestyle shots with environmental background blur, 35–85 mm at f/2.8–f/5.6 works well.
- ISO: Keep ISO 100–400. Golden hour can be dim; raise ISO before sacrificing shutter speed that would introduce camera shake in macro shots.
- Shutter speed: For handheld macro, aim for 1/200s or faster to avoid vibration. Use a tripod for slower speeds and focus stacking.
- Polarizer: Use a circular polarizer to reduce surface reflections on gemstones and deepen skies. It costs 1–2 stops of light and can change how colors render, so test and bracket.
- Fill flash and reflectors: Golden hour directional light makes deep shadows. Use a small, diffused TTL flash or a silver/white reflector to fill shadows without creating new harsh hotspots. For cloud cover, a reflector adds controlled highlights to make metal “pop.”
- Diffusion: When dealing with harsh sun (desert, midday), use a 1.5–3 ft translucent diffuser panel between sun and subject to mimic overcast softness.
Handling reflections, gems, and metals
Jewelry is highly reflective. Every strong light source creates specular highlights that can clip (pure white) and lose detail. That’s why soft light from clouds or diffused golden hour is usually preferable for product accuracy.
- Control hot spots: Move lights, rotate the piece, or change camera angle so highlights fall where they enhance form rather than obscure detail. Small tilt adjustments can turn a blown-out facet into a polished, appealing glint.
- Color accuracy: Use an 18% gray card or shoot a color target at the start of the session. Golden hour adds warmth that’s attractive but may need correction for catalog consistency.
- Gems: For diamonds and stones that need “fire,” a mix of directional and diffused light works best: directional light to create bright sparkles and diffuse fill to reveal color and bezel detail. For colored stones, diffuse cloud light preserves hue without oversaturating.
- Focus stacking: For macro detail across curved surfaces or multi-stone pieces, capture a stack at f/11–f/16 and combine in post. This gives edge-to-edge sharpness while keeping noise low.
Quick checklist for a successful outdoor jewelry shoot
- Check sunrise/sunset times and plan golden hour window; expect 20–60 minutes depending on season and latitude.
- Monitor cloud forecasts — thin clouds can create dramatic diffused warmth; thick clouds give even light.
- Shoot RAW and bracket exposures by ±1 EV for safety.
- Bring a 60–105 mm macro, polarizer, small reflector (30×30–60×60 cm), and a diffuser panel.
- Use a tripod for macro or focus stacking; handhold only when you can maintain 1/200s or faster.
- White balance: set custom from a gray card or adjust in RAW to match the creative intent.
Bottom line: pick golden hour when you want warmth, dimension, and mood. Pick cloud cover when you want control, color accuracy, and even light across reflective surfaces. Match the choice to the jewelry and to the local climate — and bring the small tools (diffuser, reflector, polarizer) that turn good light into great images.